Process study / 04 · Match, measure, repeat
Record a Repeatable Finish
Colour correction makes an application belong to the face. Continuity makes that relationship reproducible when the light, schedule or artist changes.
Name the mismatch before correcting it
Compare the appliance with the adjacent skin and identify the difference. Is it too light or dark, too saturated, shifted in hue or simply too shiny? These are different problems. A colour adjustment cannot reliably solve an edge that catches light because it is raised.
Assess value before fine hue decisions. A sample that is substantially too light may continue to look detached even after several colourful glazes. Next consider hue and saturation. Use a restrained correction, allow the product to settle as directed, then reassess under the same conditions.
Colour-wheel relationships are useful starting points, not universal recipes. The apparent result depends on the underlying skin or appliance, the opacity of the correction layer and the light. Excess complementary pigment can create a dull or muddy area rather than a convincing match.
Keep the test conditions stable
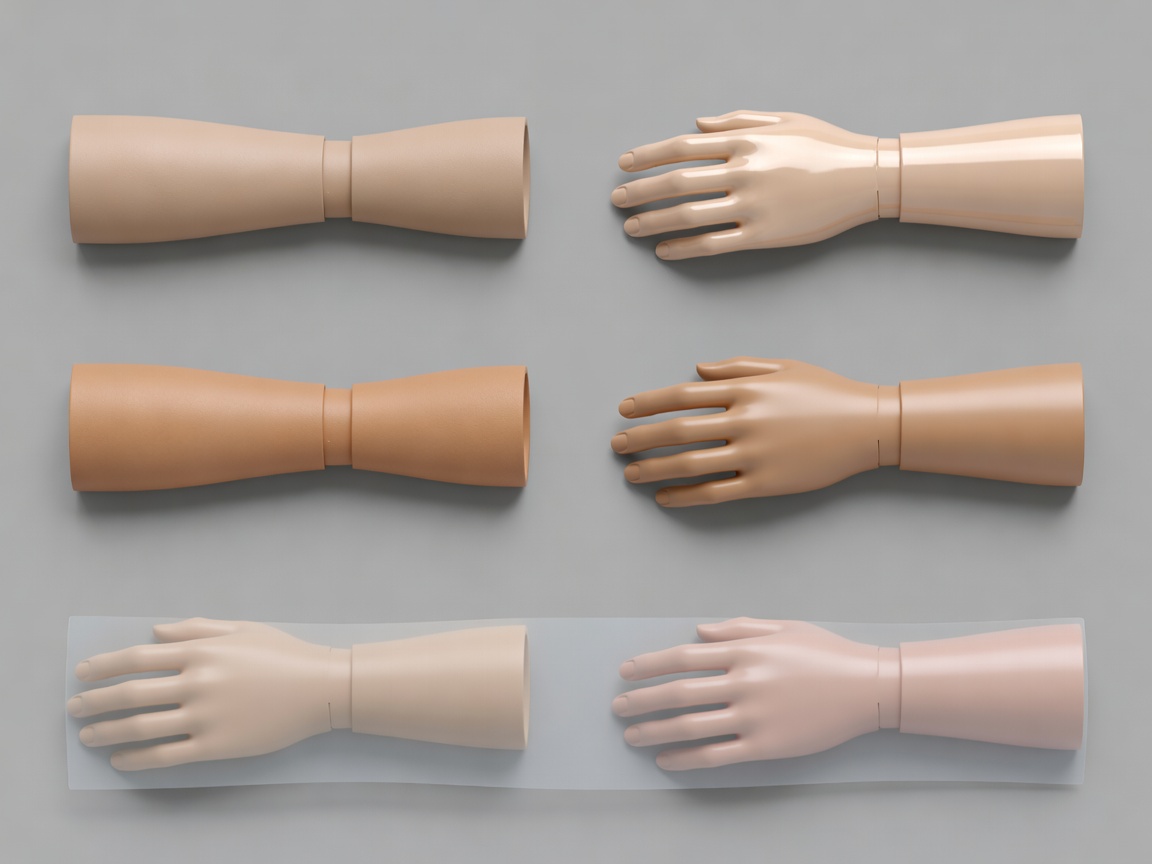
Prepare a small sample with the same material and product layers as the application. Change one variable at a time and label the result. A successful test on paper may not predict the same paint’s behaviour on silicone, foam or a sealed appliance.
Use a known lighting setup for comparisons, then check the intended scene lighting separately. Two surfaces that appear similar under one source may differ under another, a phenomenon known as metamerism. Uncontrolled mixed lighting makes diagnosis harder, because the face and appliance may be receiving different light at the same moment.
Ask the camera department about white balance, exposure and the intended viewing pipeline. A monitoring look can change the perceived finish. ACES, maintained by the Academy of Motion Picture Arts and Sciences, is one example of a colour-management framework; it is not a makeup setting or a guarantee that every monitor displays the same image.
Use an appropriate neutral reference or colour chart when the production workflow calls for one. Do not automatically adjust makeup to compensate for an incorrectly configured display. Agree on a reliable viewing reference before making irreversible changes.
Separate the recipe from the photograph
A reference photograph shows an appearance, but it does not explain how to rebuild it. Record the preparation, appliance identifier, adhesive system, paint order and finish. Include product names, shade names and useful batch information where relevant. “A little warm colour” is difficult for another artist to interpret.
Mixture ratios should state their basis. A note such as “two equal-volume parts base to one equal-volume part tint” is clearer than “two to one” without context. Ratios in a continuity note are descriptions of an approved test, not permission to mix products that the manufacturer considers incompatible.
| Record field | Example entry | Why it matters |
|---|---|---|
| Identity | Practice form A; brow appliance B; test version 03 | Distinguishes similar pieces and revisions |
| Placement | Aligned to marked brow landmarks; see approved front and side images | Explains orientation rather than relying on memory |
| Colour sequence | Compatible base; labelled glaze sample C; finish sample D | Preserves layer order and tested samples |
| Viewing conditions | Named test light; camera settings recorded by camera team | Makes later comparisons meaningful |
| Wear observations | Outer edge checked after movement; no revision approved yet | Separates observation from an authorised change |
Photograph for reconstruction
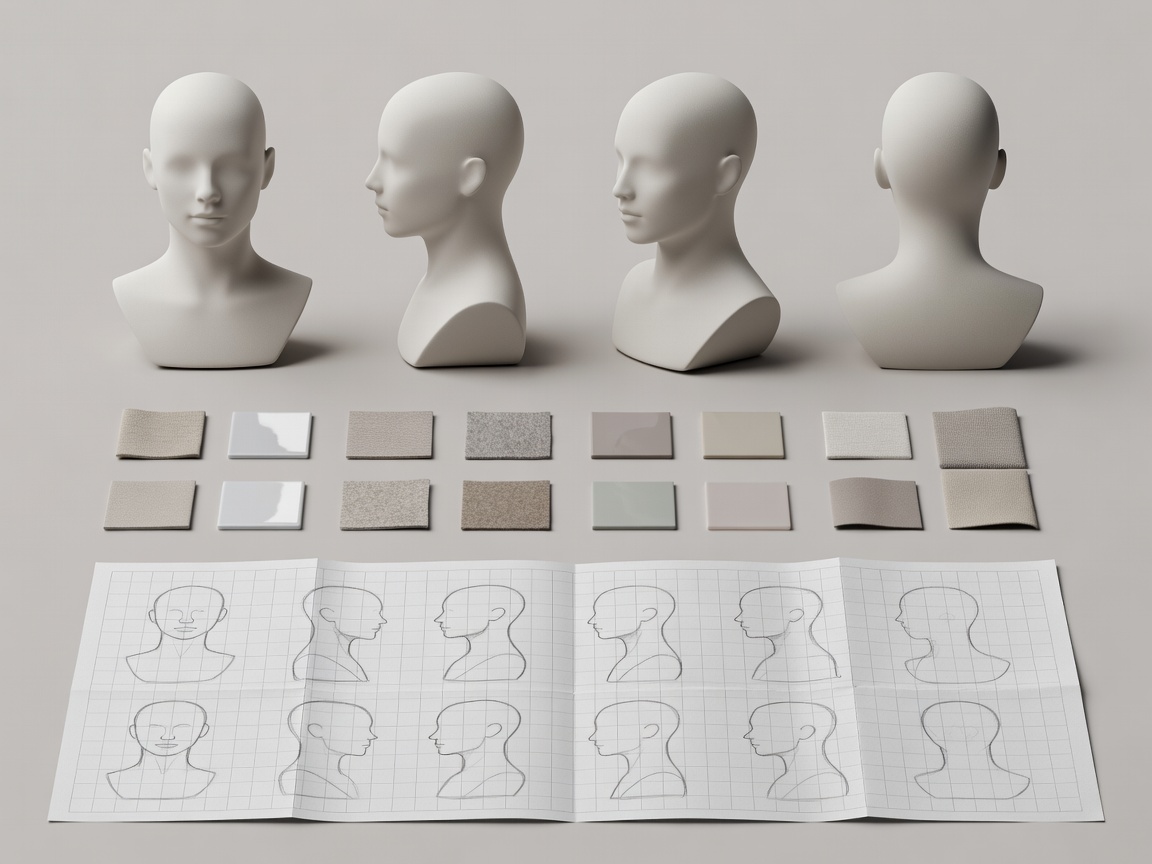
With the performer’s permission and the production’s agreed process, capture front, profile and three-quarter views. Keep distance, framing and light as consistent as practical. Include a close detail of features that are easy to misplace, plus an overall image showing their relationship to the face.
Photographs should not be distorted by beauty filters or automatic retouching. Label the approved version clearly and distinguish it from experiments. If exposure or white balance changes between images, note that difference rather than treating the images as directly comparable.
Store performer images in an access-controlled production location, not an open public folder. Agree who may view them and how long they should be retained. Avoid including unnecessary personal or medical information in the makeup record.
Track story time and shooting time separately
Scenes are often filmed out of narrative order. A finish that belongs after a fictional journey may be required before the clean version is shot. Label the character state and scene reference separately from the calendar date of application. This prevents the newest photograph from being mistaken for the correct story state.
Record approved changes during the day: a repaired edge, a reduction in sheen or a deliberately added mark. Note who approved a change when the production uses that process. Do not silently overwrite the earlier record, because a later shot may still require the previous state.
Make the handover readable
Before finishing, ask whether another trained artist could understand the application order, placement and limits without calling you. Include approximate working stages from the actual trial, known movement constraints and the designated removal system. Never present an estimated wear duration as a guarantee of skin tolerance.
A useful continuity record is concise but specific. The aim is not to document every brush movement. It is to preserve the decisions that made the effect credible and the information needed to repeat it responsibly. That is where colour correction and continuity become the same discipline: controlled observation followed by a clear, reproducible response.
Continue the construction