Process study / 02 · Observe, model, restrain
Model Time on the Skin
A convincing surface suggests a history without drawing attention to every mark. Begin with the direction of movement, then decide how much structure the camera actually needs.
Separate story from stereotype
Ageing is not a single pattern of brown spots and dark wrinkles. Skin changes vary with anatomy, genetics, environment and individual history. A useful character brief identifies a particular person at a particular point in a story rather than treating age as a collection of defects.
Work from consented reference photographs and careful observation. Look at the distribution of volume, the direction of folds and how the face changes between rest and expression. Do not assume that a fold visible during a smile should be equally dark when the face is still.
For simulated scars, define the fictional mark’s position, broad shape and established age within the narrative. This is a visual design task, not a medical diagnosis. Real scars vary considerably, and a makeup guide should not imply that every injury leaves a predictable pattern.
Choose the least intrusive method
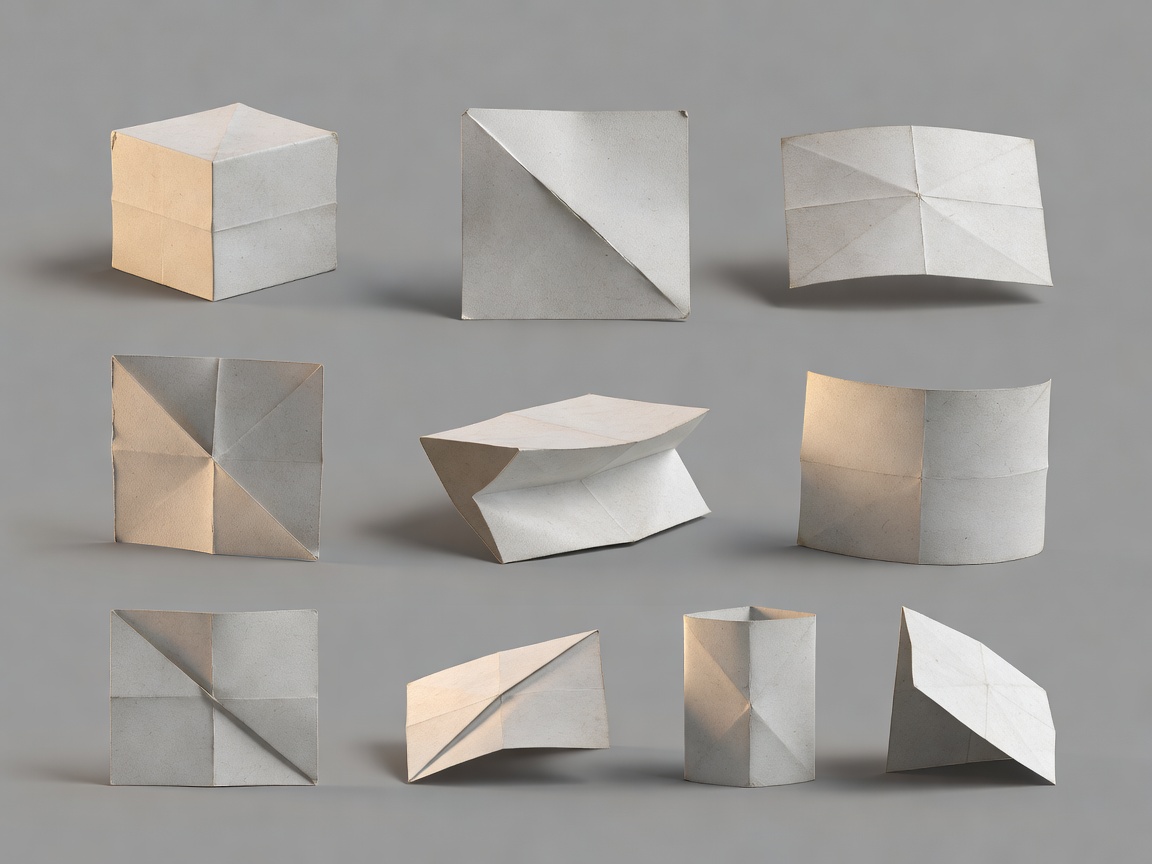
Decide whether the effect needs paint, a small appliance or a more substantial sculpted change. A distant shot may need little more than controlled colour and shape. A close view with moving light may reveal that a painted groove has no physical depth. Conversely, a thick prosthetic can become less believable than a restrained painted suggestion.
Practise first on a neutral form or a material sample. Compare a painted line with a shallow raised form under the same light. Turn the sample slowly. The exercise shows how actual geometry casts changing shadows while painted shading remains fixed. Neither method is universally better; each has a different range of useful camera conditions.
Use only cosmetic materials intended for the application and follow their instructions. Do not use household adhesives, heat or deliberate skin irritation to create texture. Beginners should avoid skin-contracting effects products unless appropriately trained in that exact system. A visible tightening effect is not evidence that a product is harmless.
Build a closed scar as a small structure
For an introductory study, choose a premade, closed-scar appliance rather than an open-injury effect. Dry-fit it and check whether its scale suits the face and shot. A slight change in height or width can alter its visual emphasis considerably. Place it so expression does not immediately buckle the form or lift the edge.
Apply only with the compatible adhesive and removal system. Once secure, examine the transition into the surrounding surface before painting. An obvious perimeter usually needs a construction correction, not a darker centre. Record placement against stable landmarks so the same fictional mark can be reconstructed on another day.
Let colour vary without becoming noisy
Begin with an integrated base, then introduce small, controlled variations. A fictional mature scar might be comparatively quiet in colour; a younger fictional mark may be more noticeable. Avoid treating these as universal biological rules. Your reference and the production’s approved design should guide the decision.
For ageing, work in passes: broad value relationships, local variation, then selected detail. If every crease receives the same dark line, the face becomes diagrammatic. Break up repeated marks, soften transitions and compare the result at the actual viewing distance. Keep the performer’s natural expression readable.
Check surface finish as carefully as colour. A glossy patch beside matte skin can reveal the effect before the audience notices its shape. Use only finishing products compatible with the underlying material, and avoid excessive powder that makes the surface appear dry or thick.
Test light before adding more detail
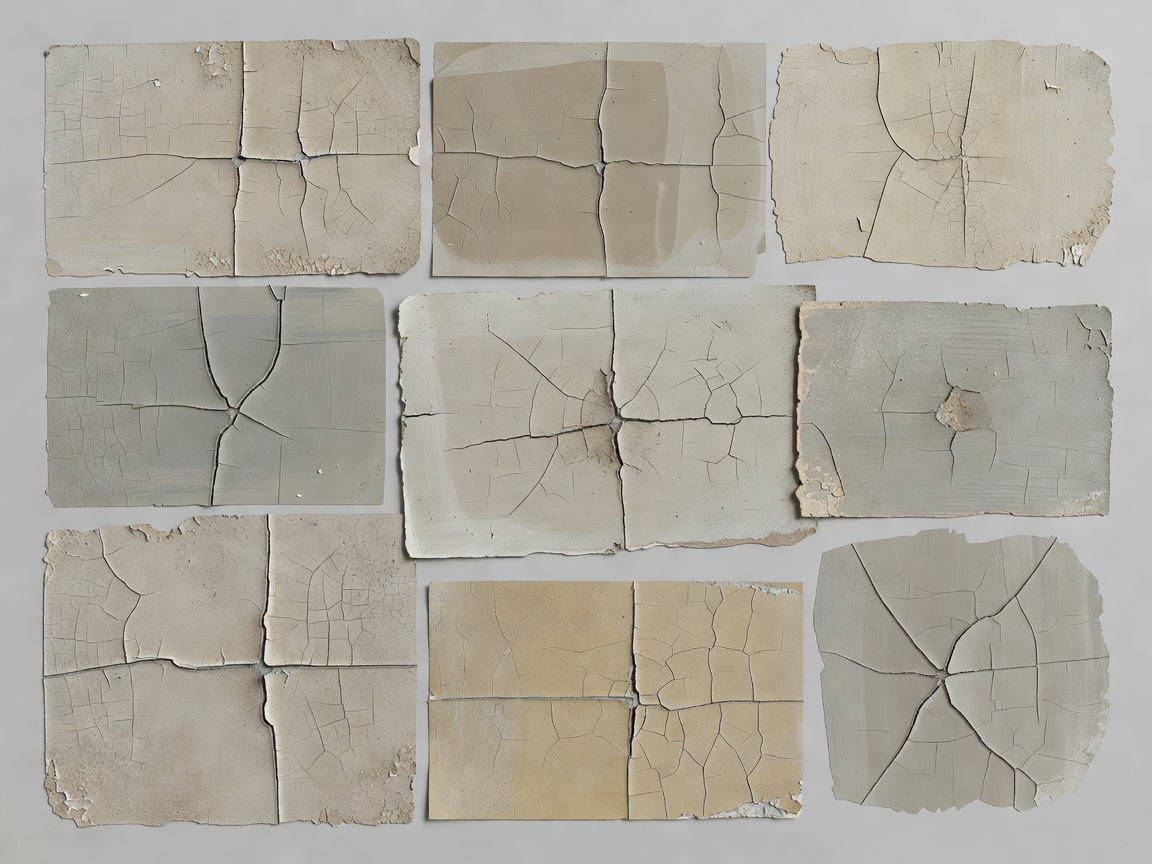
Observe the makeup in soft frontal light, then in a more directional arrangement resembling the scene. Side light can exaggerate a raised texture; frontal light can flatten it. Capture a short motion test if possible. A still photograph may hide an edge that becomes obvious when the performer speaks.
Review a neutral version of the image rather than relying only on a strongly filtered monitor. Ask whether the effect supports the character or merely announces the makeup. If the result feels too busy, reduce contrast before increasing thickness. A practical rule is to change one variable, repeat the test and record the outcome.
Respect comfort and continuity
Agree on breaks and check the skin during wear. Stop if irritation or discomfort occurs, and remove the products according to their instructions. More adhesive, more powder or a stronger solvent is not an appropriate response to a skin reaction.
For continuity, document the effect at rest and during one or two repeatable expressions. Note appliance orientation, the order of colour layers and the products used to adjust sheen. Include how the makeup looked after the planned wear period, because some materials settle or change appearance.
Classic screen work by Dick Smith and the transformations developed for The Curious Case of Benjamin Button are useful starting points for studying character age as an integrated design problem. They are not beginner recipes: successful screen ageing can combine makeup, performance, hair, lighting and digital work.
Continue the construction