Process study / 01 · Fit, attach, release
Fit and Blend a Prosthetic
Choose a material for the way it moves, not simply for the detail it holds. A successful application begins with a fit you can explain and a removal method you have already prepared.
Read the material first
A prosthetic must work with the face underneath it. Foam latex is light and compressible, but its porous surface needs an appropriate preparation and paint system. Silicone can offer a skin-like translucency and flexible movement, but its weight, surface chemistry and encapsulation can make attachment more demanding. Gelatin is useful for some controlled effects, yet warmth and moisture can change its behaviour.
These names describe families, not interchangeable recipes. A premade silicone appliance may have an encapsulating film that needs a specific treatment. Another piece may have no encapsulation at all. Read the supplier’s application instructions rather than assuming that a technique shown for one product suits another.
For a first study, use a small commercially prepared piece on a practice form. Note its thickness, rebound and edge construction. Bend a spare sample gently and watch where it creases. This gives you a vocabulary for discussing fit before a performer is involved.
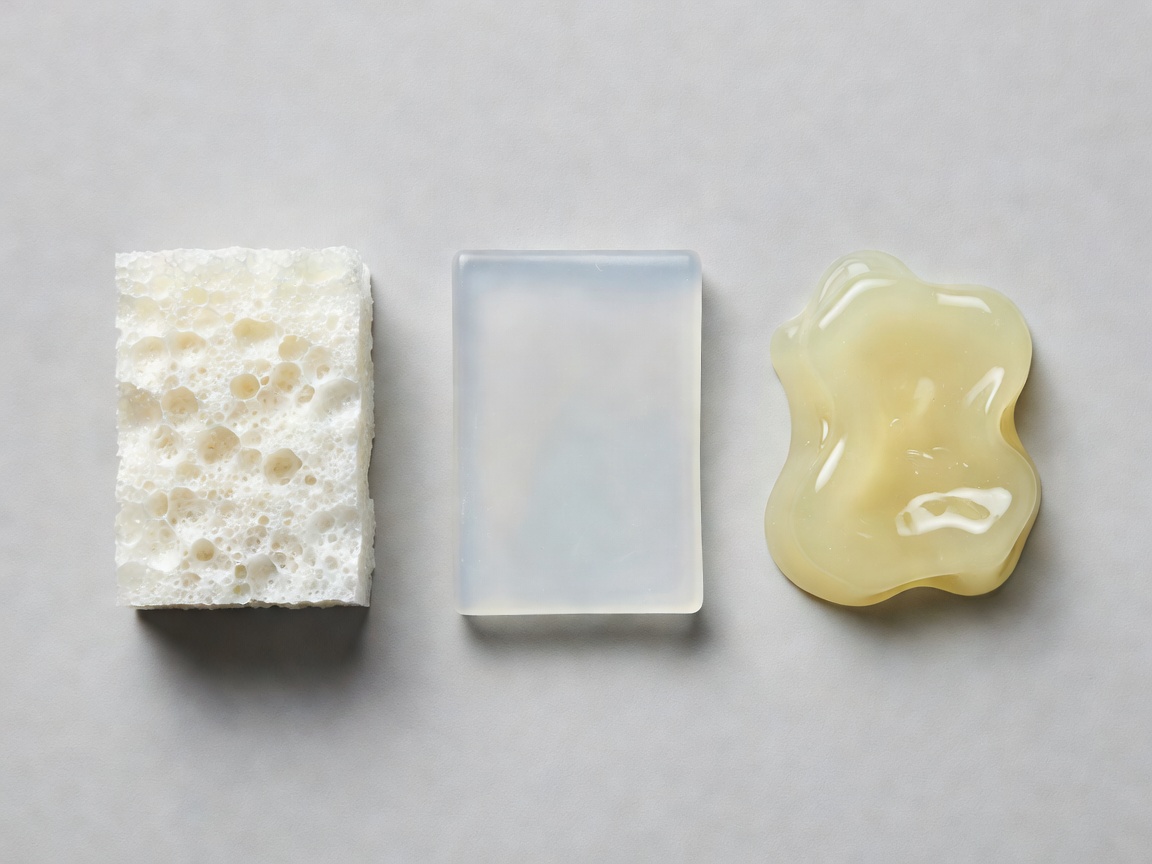
| Material family | Useful behaviour | Check before use |
|---|---|---|
| Foam latex | Light, compressible structure | Latex sensitivity, porosity and compatible sealing |
| Silicone | Flexible, potentially translucent surface | Weight, encapsulation and adhesive compatibility |
| Gelatin | Soft, adaptable effect material | Heat, moisture, ingredients and storage guidance |
Plan consent, preparation and removal
Discuss the intended effect, wear time and removal before starting. Ask about known sensitivities without treating a conversation as a medical assessment. Follow manufacturer guidance for suitability checks and any recommended testing. A small test cannot guarantee that a later reaction will not occur. Avoid damaged or irritated skin, and do not attempt to cover a skin problem with adhesive.
Set out the specified remover, clean applicators, waste container and a clear stopping plan. Read the label and relevant Safety Data Sheet, particularly for ventilation, flammability and storage requirements. Do not improvise with household glues or substitute a general-purpose solvent for a skin-use removal product.
Prepare only as the product instructions direct. Skin should not be aggressively scrubbed or repeatedly degreased in an attempt to force adhesion. Keep the performer comfortable and able to communicate throughout the work.
Dry-fit before opening adhesive
Place the unglued piece against the intended position. Identify stable reference points, such as the brow arch or a point beside the nose, and record the alignment. Check that the appliance does not obstruct the eyes, nostrils or mouth. Ask for gentle expressions and observe whether the form folds naturally or lifts at a stress point.
If the fit is wrong, stop and reconsider the piece. Additional adhesive does not correct an unsuitable shape. Do not trim close to a performer’s skin with sharp tools. Make any permitted adjustments away from the face, following the supplier’s guidance, then repeat the fit check.
Attach in a controlled sequence
With a suitable system selected, follow its instructions for adhesive placement, working time and contact pressure. Establish a reliable central position, then work in manageable sections so you can preserve alignment. Avoid stretching a thin edge merely to make it reach: stored tension often becomes visible when the face moves.
Keep layers controlled. Flooding an edge can create a visible ridge and prolong removal. Some encapsulated edges are designed to be treated with a particular solvent; other edges are not. Never assume that an “edge blender” is appropriate, especially near sensitive areas. Eye-area applications need specialist training and products specifically suitable for that use.
After attachment, examine the silhouette under side light and during a small range of expressions. Paint cannot reliably conceal a lifting edge, a trapped fold or a shiny pool of adhesive. Resolve the construction issue first.

Blend colour, then document the wear
Use a paint system compatible with the appliance and adhesive. Build small, translucent adjustments rather than one thick layer. Match the surrounding skin’s value and variation while checking sheen separately. View the result in the intended lighting and through the camera where possible; a bench mirror cannot reveal every on-screen mismatch.
During wear, check comfort and edge integrity at agreed intervals. Do not add more product over irritated skin. If discomfort, redness or an unexpected reaction develops, stop the application and remove the product as directed. Seek appropriate medical advice for persistent or significant symptoms.
Release without pulling
Removal is part of the application plan, not a final afterthought. Use the specified skin-safe remover, allow it time to work and support the skin while gradually releasing the bond. Never pull a firmly attached piece free. Keep remover away from eyes and mucous membranes and follow its handling precautions.
Record what happened: material name, adhesive, preparation, paint system, wear duration and any areas of lifting. For a reusable piece, follow the supplier’s cleaning and storage directions. The next application should begin with evidence from this one, not a guess about which product combination worked.
Continue the construction